I've been tagged by Elizabeth at The Hive Design Studio (who, by the way, has gorgeous cyan tags on her blog right now, check them out).Rule-posting first:
1. Link to your tagger and post these rules on your blog.
2. Share 5 facts about yourself on your blog, some random, some weird.
3. Tag 5 people at the end of your post by leaving their names, and links to their blogs.
4. Let them know they are tagged by leaving a comment on their blog.
I'll try to make my responses relate to letterpress/design... since it's a letterpress blog!
1. I always planned to go to art school when I finished Year 12, but Dad didn't want me to be a starving artist. He wanted me to be an architect (I was topping the class at the time). Graphic design was the happy medium.
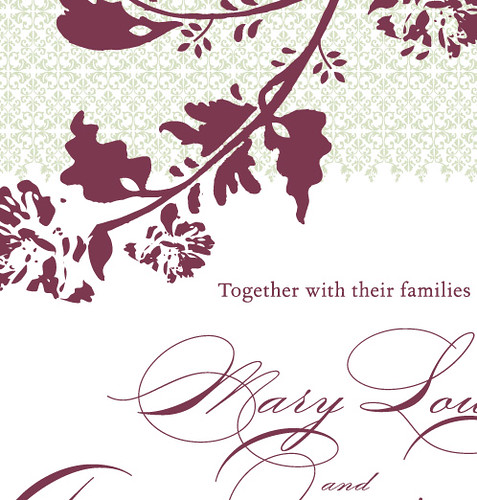
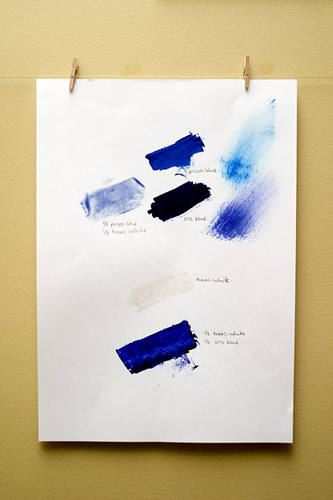
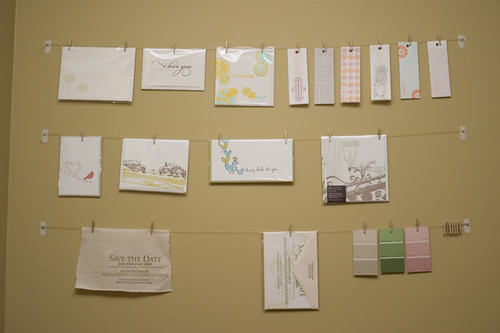
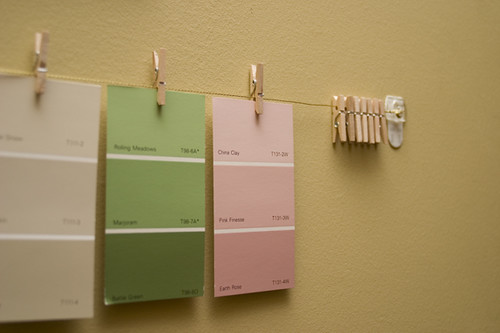
2. Letterpress is a combination of a few of the things I always wanted to have in a day job: messiness, ink, illustration, typography, design, colour, paper, working away from a desk, repetitive movements, repetitive movements, repetitive movements, being creative in a unique way, greeting cards, Illustrator vectors, photography, proofing, wearing grotty clothes... I could go on. Being a graphic designer is limiting because I'm being creative without getting dirty. I'm a grot by nature, and being a government graphic designer is eating my soul.
3. I'm a bit obsessive. I don't have 'interests' - I have obsessions. But being on a high with an obsession also leads to an inevitable low. I'm currently in a minor one - doubting my letterpress future and wondering if it's really worth pursueing or if I'm kidding myself. I guess this also comes with just losing your job.
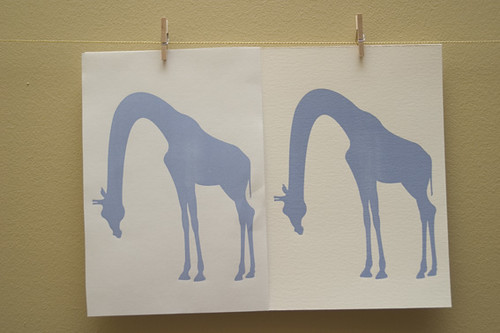
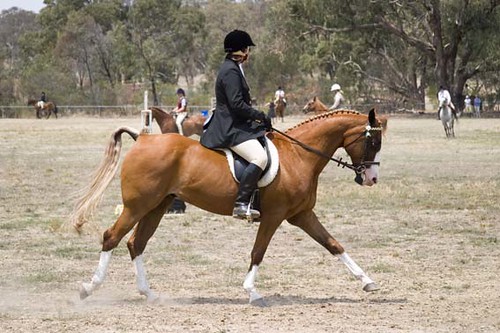
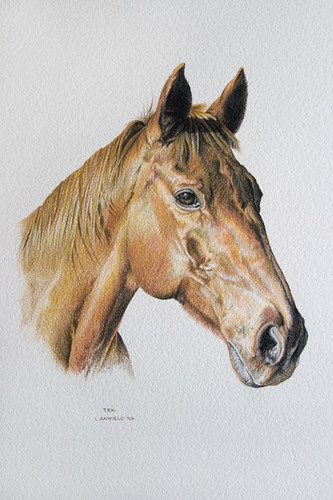
4. I'm a horse girl. I have a gelding named Rick. I do highly detailed horse and animal portraits like this and this.
5. My real name's Louise, and I have a problem with posting my last name on the internet! That will have to change if Poppy Letterpress really goes into business.
TAG to:
1. Megan from Megan Creates... - Such a wonderful positive spirit and a very talented woman.
2. Ampersand Duck - Because I know she's a kooky character and would like this ;)
3. Tanya at Snap & Tumble - It's inspiring watching someone else with an Adana make beautiful things.
4. Lynn at Satsuma Press - Because I couldn't help but buy one of her cards off etsy as one of my first purchases, and I'm so impressed with the quality. One of the first letterpress blogs I found.
5. Alexandra at Dolce Press - a website/blog that I discovered only yesterday, and really need to finish reading with a big cuppa tea. It looks like a good one!
Apologies if you've been tagged already. Double apologies if you hate this type of quizziness.


 Calipers.
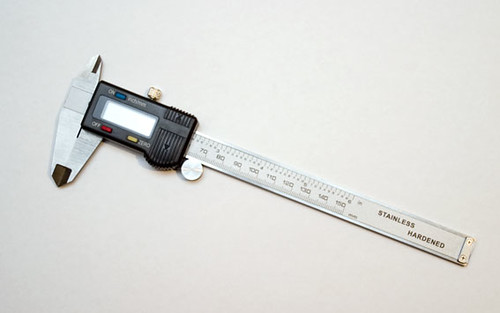 Ink.
Ink.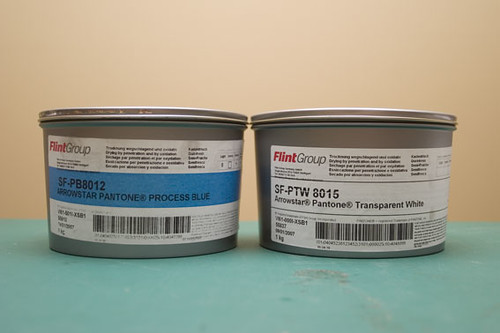


