Friday, March 21, 2008

Varied Noisy - 1st colour


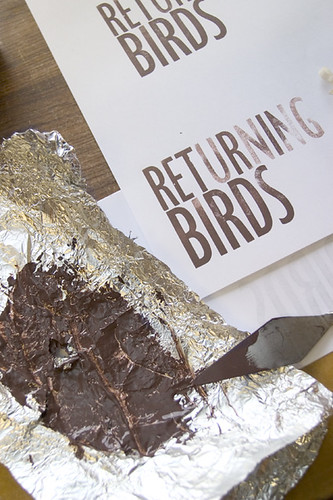
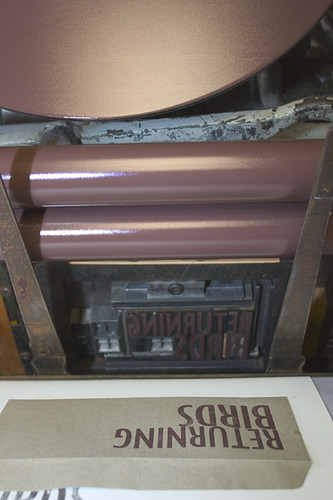
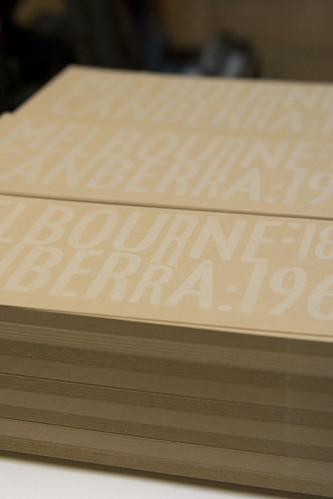
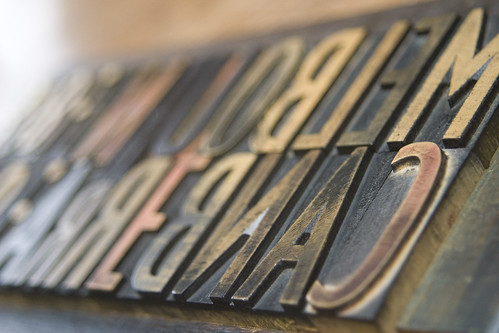
Just a sneak preview of what I'm working on at the moment - 400 x 2 colour postcards printed in wood and metal type. Second and final colour will be printed tomorrow morning, so stay tuned for the final product. But first, a little about my day...

Wood type and I are not friends.

Oh, it's such a lovely result when the prints are done, but the makeready is unbelievable. Or maybe I'm just exceptionally bad at working with wood type. Either way, I spent a good few hours today adding packing to behind the worn wooden letters to get them to type high. That's fine, I actually like doing that, but when every attempt gets a completely different result? Augh.

So it took me a long time to realise that each time I loosened the quoins, took out a letter, packed it, replaced it again and tightened the quoin, the pressure of tightening was causing the forme to bow just a little. I never overtighten the quoins, so it wasn't obvious at first. In the end, I placed a weight on the forme as I was tightening the quoins (making sure not to damage any type). Ok, problem fixed. From there, I ran a few (hundred) more proofs, every now and then having to stop and pack a letter which mysteriously shrank in height. After a while of doing this, I was able to predict how the letters moved in the forme after each impression. The pressure of each new print is enough to push some letters back (even if you thought it was flat on the table first) - causing them to 'mysteriously' shrink in height. So after a few impressions and tweaking, I had a good forme to print from.

PS. I'm on the hunt for a decent guillotine. I've been cutting paper by hand and sending bigger jobs to friends who can help, but I really think it's time to get one for myself. They can be so expensive so it's proving to be a challenge. Now, to ebay or not to ebay...

Tuesday, March 18, 2008

Solving inking problems

Apologies for those using slow internet, but it's been a while since I've put some photos up.

I had a serious printing session today. I've been having problems inking plates and was determined to get to the bottom of it. Here's what my prints were turning out like (click to enlarge):


Either the ink cut-off midway, or there were bare strips. Such a basic printing issue, but no matter what I did I couldn't resolve it. So I bought new gloves that don't have any powder (to avoid trucks slipping on rails, or powder getting on rollers), and I clean everything up with turps and new rags: trucks, rollers, plates, base, rails and ink disc. This way I knew nothing had oil or powder on it. The trucks wouldn't slip on the rails or plate.

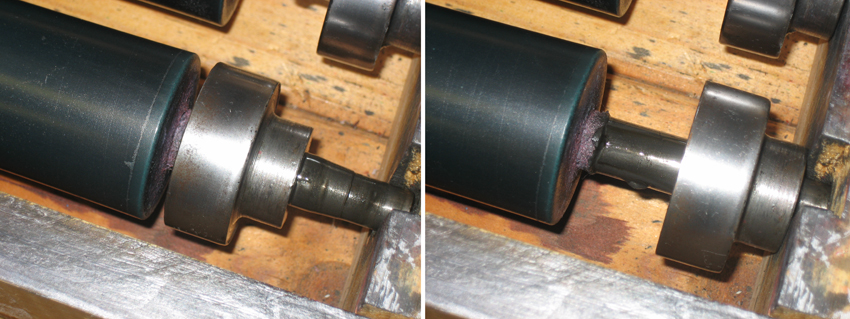
These are my trucks, taken off the rollers to have a thorough clean. Below shows how they slide back and forth on the rollers (which they don't do on the press).

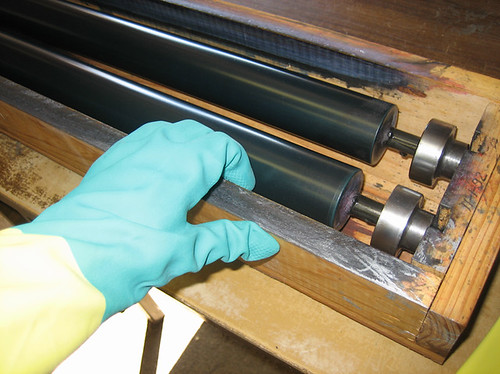
New gloves:

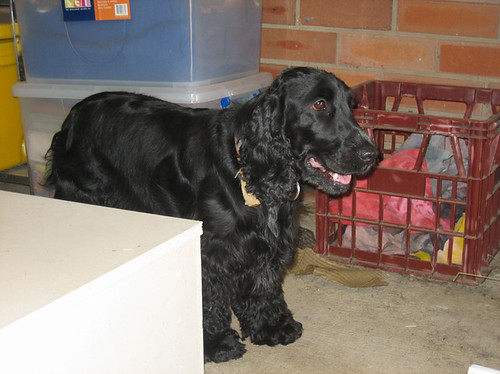
Taylor, the pressdog. She sleeps in her kennel next to the press, and on hot days she sits in her tub of water while I print.

My rails have vinyl tape wrapped tight at each end. I cleaned these off, and put the red PVC tape back on, as I've had set up for a while.

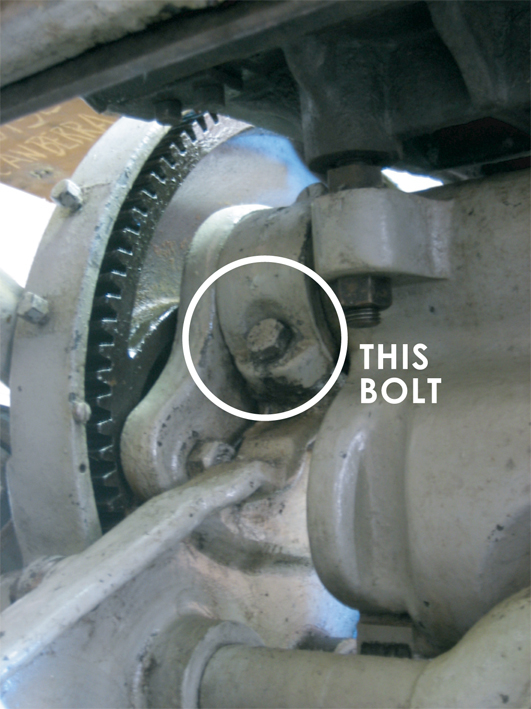
I recently found a large bolt that was loose as well, so I got right under the press and tightened it up. I ended up looking for it when the press started clunking on each impression. If this happens, firstly check to make sure that you haven't over-packed the platen. These presses are pretty hardy, but you don't want to strain them too much. Hard packing is optimal. Lots of soft packing just allow the type/plate to create an emboss on the back.

Cleaning everything thoroughly to remove oil, ink and dust, as well as readjusting the tape on my rails fixed my printing issues.

So if you are having trouble getting the rollers to ink up your plate, you need to check:

  1. rollers are level their entire length, preferably with calipers,
  2. plate and base are flat,
  3. base is locked into chase flat (not one side higher or lower than other),
  4. tape on rails is at proper height and are free of debris and oil, and
  5. trucks are free of debris and oil.

Of course there are probably a dozen other things, but I'm still learning that myself, too.

I have a lot of people asking me about uneven inking problems on tabletop presses. This is even tricker to troubleshoot because of how easily the impression knobs can be adjusted. This old posting might be of help.

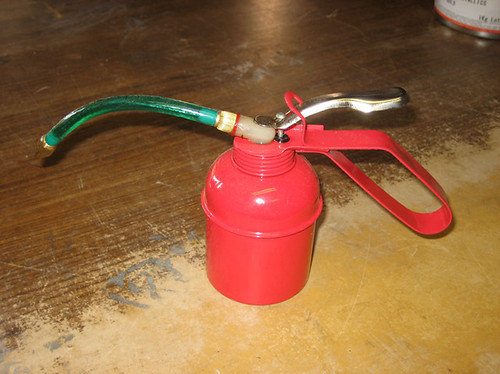
More photos. This is my oilcan. Not terribly exciting, but I highly recommend you aquire a good one if you have a standing press. I can usually find between 35-42 oil holes on the press, and some of them are quite hard to get at.

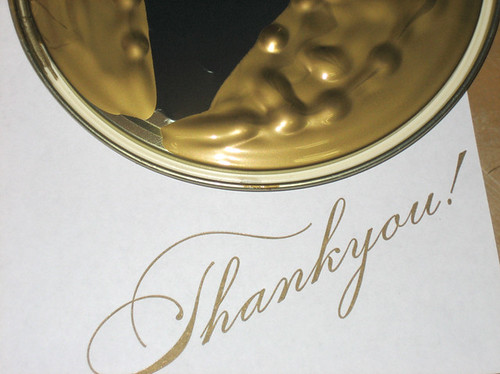
I bought a new pot o' gold today (wow, if only it were that easy). The exact gold that I was looking for was out of stock at Prestons, so I grabbed this Pantone 871 instead. Not really happy with how it turned out on my stock, it's very dull, more so than the silver is.

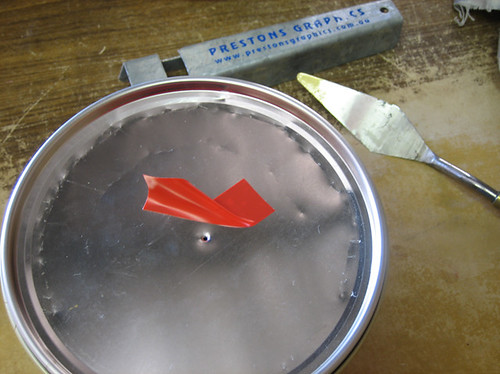
I learnt today that if you tap a hole in the middle of the lid, it's easier to remove it. When the lid is on, just put a bit of tape over it.

The gold looked great on the press:


Lastly, a big shoutout to Sarah in Sydney who rang today, Gina in Canada who's bought out my etsy shop (and I've already had people asking Where did they all go??), Donna in Brooklyn who I'm printing business cards for, and Helen from Pepperina Press who helped me last night on etsy.

Saturday, March 15, 2008

Paper

When I first got my Adana I did a lot of research and experimentation to see what papers worked best. I needed to find my own 'house' stock. It seems that most of the American letterpressers are using Crane's Lettra, a beautiful pillowy stock designed especially for letterpress. I bought a few cards from the US printed on Lettra so I could see what it was like for myself. Unfortunately, no Australian company stocks Lettra in large sheets.

I found that Arches BFK Rives is a very close match to Lettra. In fact, it's a little smoother, be still 100% cotton rag. I ended up buying a roll of Rives and I was rather pleased with myself - until I realised how difficult it was to work with a roll of paper instead of flat sheets. I annoyed one printer by asking them to guillotine the curvy sheets I'd cut off the roll.

So I still have a fair bit of the roll left, but without being able to guillotine it easily, I'm looking for flat sheets of Rives now. The two best places to buy Rives:

Neil's Art Store - Melbourne.
Melbourne Etching Supplies - Melbourne.

Best to watch out for sales (none at the moment, bugger) and buy up big when they're on. Big thanks to Ampersand Duck for pointing me towards Neil's.

I may be wrong and there may be a better (and cheaper) stock out there, but for now I'll be sticking with Rives.

Tuesday, March 11, 2008

Poppy now on Madeit.com.au


I'm in two minds about madeit.com.au

Essentially it's the Australian etsy, with far less features. It's a little harder to find out what you need to do to list an item, and you have to purchase credit just to be able to list. Nevertheless, I'm willing to give a new(ish) site a try.

I'd love to send you the link to the new Poppy Letterpress madeit store, but you know what, I have no idea how to find out what that is. I can only see it now when I login to my details and find it that way. If anyone does figure out how to find my store (without just searching for letterpress), do let me know!

Monday, March 10, 2008

Featured on etsy treasury

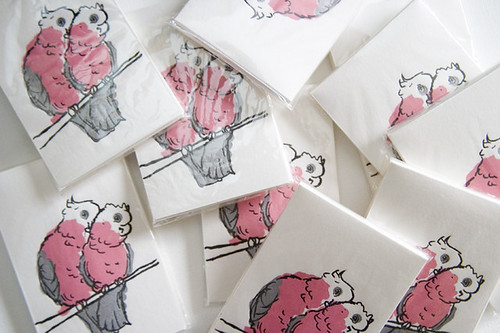
A quick thanks to Amy from The Hive Design Studio for featuring my galah minicards in her treasury that appeared on etsy. I'm not sure if etsy tells you that you've had one picked, but I noticed it on Amy's post.

Today's a public holiday in Canberra, so I'm trying to have a day off. Of course, my day off started with sending off two printing quotes, and then scouring the net for letterpress goodness. Can't help myself. Tomorrow I hope to start work on Raquel's new postcards, but first I have to hunt for 100% recycled Tudor sheets.

I've also updated my list of favourite blogs. There are some great ones out there that I try to check daily if I can, so make sure you pay them a visit. They're all listed on the side bar ----->

For the trip up to Sydney last week I produced a couple of swatch books. These books showed black ink, silver ink, and blind deboss on different paper samples. They were a quick last minute idea which proved to be very useful. I left a copy with the client so they can use it to show their clients. So this week I'd like to print some more with a few more papers.

Sunday, March 9, 2008

Blossoming Poppy

I've been busy working on jobs for clients in the past week or so. First up is a job for Raquel, an artist who needed printed envelopes to house embroidered badges that she had designed. The envelopes needed to be 100% recycled kraft paper. I found Tudor makes these. The designed was printed from woodtype, which was composed and supplied by Ampersand Duck, which I was very thankful for!

The words were printed in a brown to match a photo. It had a little silver mixed in, but not quite enough to give it that metallic sheen.

It was a fun job to work on. Next week I'll be working on matching 2 colour postcards for Raquel, so stay tuned for details.

Two days ago I travelled up to Sydney to show a design studio my printing. There was much excitement about printing possibilities, and I can't wait to start working on jobs with them. Printing clients seem to be so much nicer than design clients! I won't tell you much about the job I'm quoting on for them now, but it involves gold, blind debossing, and lots of ornate swirls. Right up my alley. Will post more once I've started work on that one.

New base, new products

So it's been a busy couple of weeks, and now I finally have time to sit down and tell you about it!

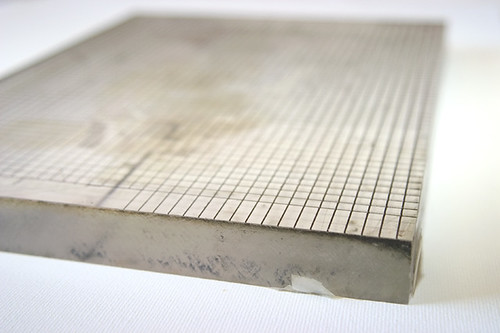
Firstly, Joe from Monaro Printing has once again come to my rescue. I've been printing on the Collie with the metal base I had made for the Adana. So although the Collie's chase is 10 x 15", I've only been able to print 7 x 4". The new base is A4 and has a grid on it and will make my life so much easier now. Here's a photo.


Etsy-wise, I've been learning as much as I can on the site. I can't believe how much you can do on one little site. I also posted a new product:


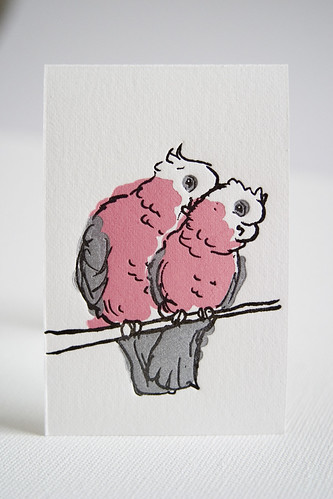
The mini cards are 90 x 60mm and packaged in sets of 4. Another three colour design, this time using silver instead of a grey. Lesson learnt: you can't overprint silver. Even with black, the metallic creeps through. Still look okay though.

So these guys are up on etsy now. But in more exciting news: I made my first etsy sale! A buyer in the US bought my Groovin' Dudes card, so I can't wait to mail that out.