The issue is that an area the length of the plate and one inch high is not inking. If I rotate the rollers 180 degrees, the whole plate inks up again, but after one or two prints, resorts to having an uninked strip again. It's not always the same area. It's less noticeable with line art.
At first, I thought it was that the rollers were sliding over that spot rather than rolling over it. I checked to make sure that the trunks were free of grease, and that the tracks were also clean.
Then I thought that it was because the rollers weren't being completely covered in ink as they ran over the ink disc -- that they didn't complete a full rotation over the ink, and therefore couldn't fully ink the plate.
My fiancee discovered that one of the tracks wasn't 100% straight. So we taped it up until it was, but that made no difference either.
Only rotating the rollers a little by hand, and then continuing the cycle seems to ink the plate up evenly, though only for a couple of prints.
Our best guess so far is that the rollers' axis has a bow in it. If this is the case, it's bad news.
I've put in so much work to get this far, and it's really disheartening to discover something like this. I have no idea where to get new complete rubber rollers, and even if I did, it still puts my wedding stationery back a few weeks. It's so frustrating.
I threw out most of the prints before realising I should photograph them, but here's a few pics:
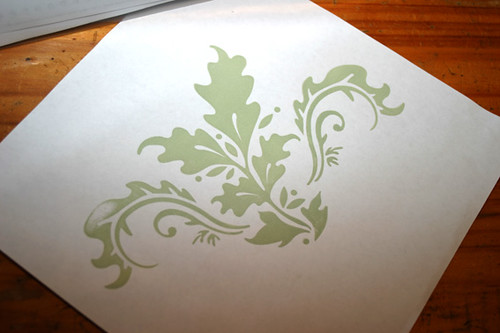 Best print from last night. I ran the ink very heavy, had just a kiss impression to the plate, and rotated the rollers by hand after every print.
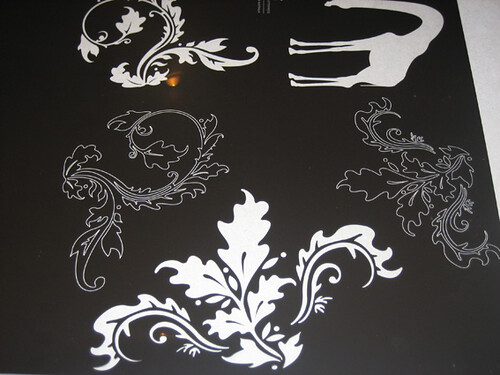
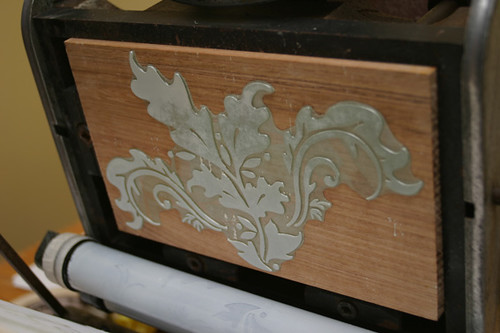 The plate tonight. Not a great example, but you can see the uneven ink distribution on the plate across one section. Rotating the rollers by hand fixed this for a couple of prints.
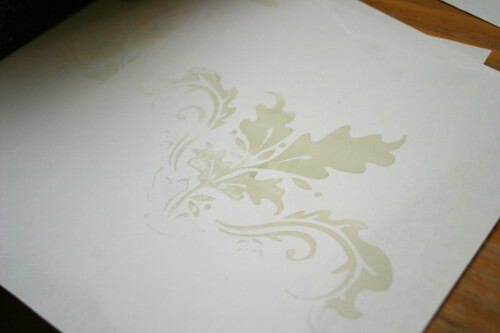 Example of a dodgy print from tonight. Notice the line of absent ink halfway down the print.
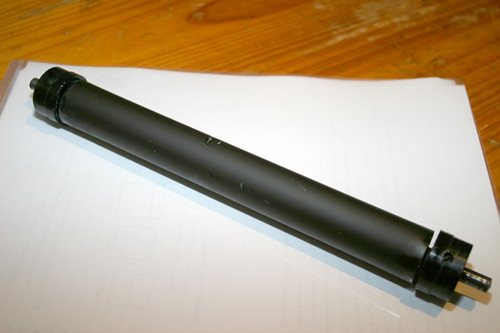 One of my rollers during the cleaning process. Both of the rollers for my eight-five have a few knicks in them which, surprisingly, haven't seemed to produce 'holes' in prints.
&Duck mentioned in the previous post's comments that double sided tape can cause problems and that spray adhesive is a better idea (which I'll be doing from now on), but after fiddling with this plate, I don't believe that's the cause of my inking problems.
Any suggestions would be appreciated. I'm at a loss here.